If you've lived in the Black Hills for more than a few years, you already know your roof has a tough job. One summer it gets pounded by hail. The next winter it's buried under snow. Then we get 70 mph winds, weeks of sun, freezing temperatures, and the occasional wildfire concern.
Read More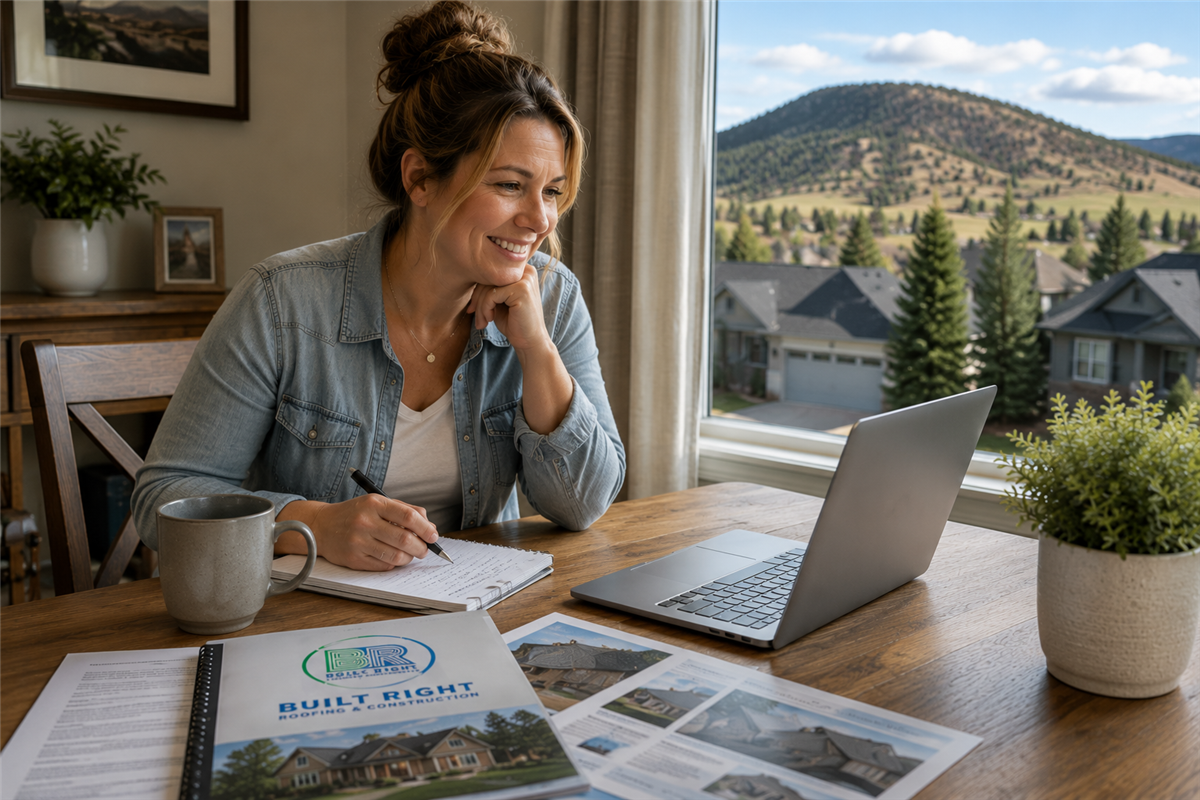
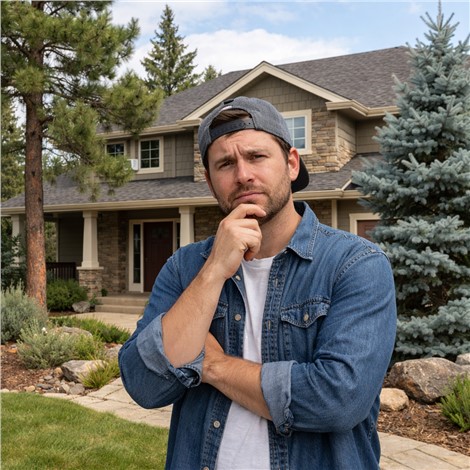
Let's be honest: choosing a roofing company can feel overwhelming. One contractor says you need a new roof immediately. Another says you don't. One estimate comes in thousands of dollars higher than the next. Every company claims to have the best products, the best crews, and the best service.
Read More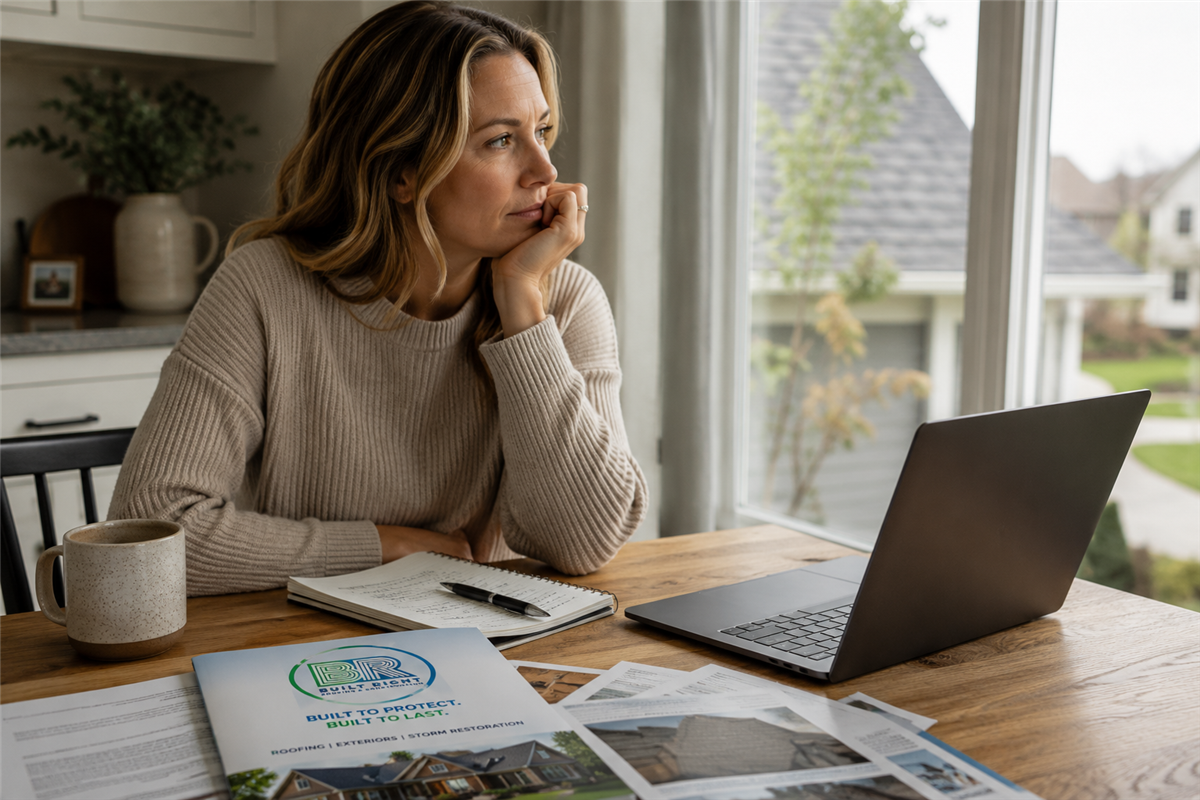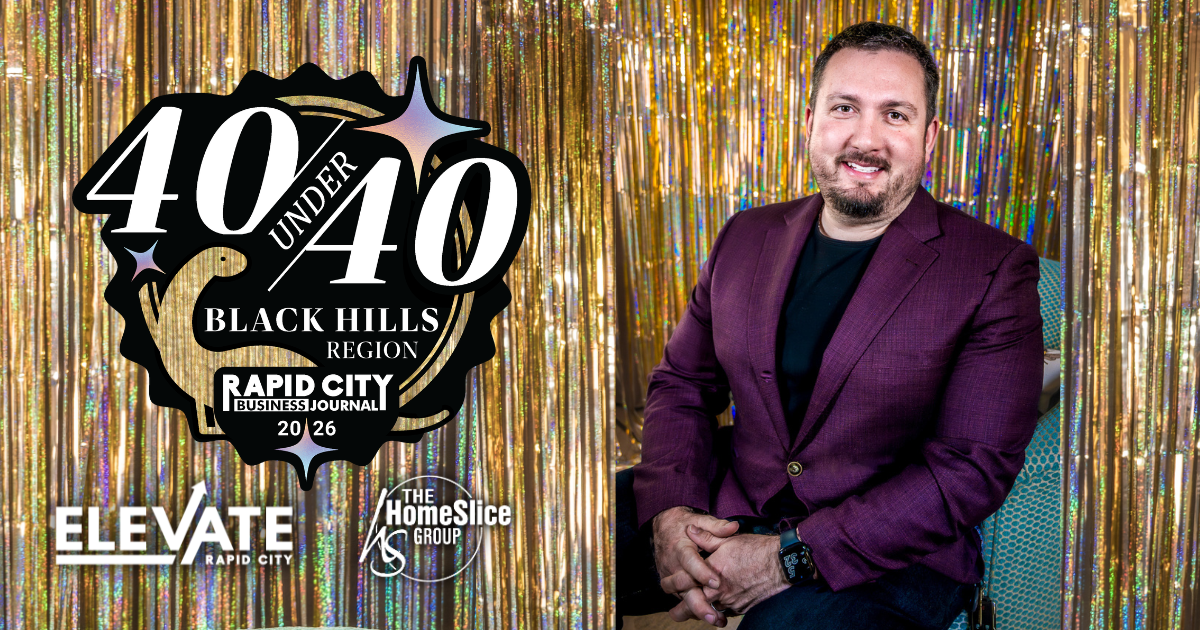
Built Right Roofing & Construction is proud to announce that co-owner Jake Hofer has been named to Elevate Rapid City's 2026 40 Under 40 list, recognizing young professionals who are making a meaningful impact in their industries and communities across the Black Hills region.
Read More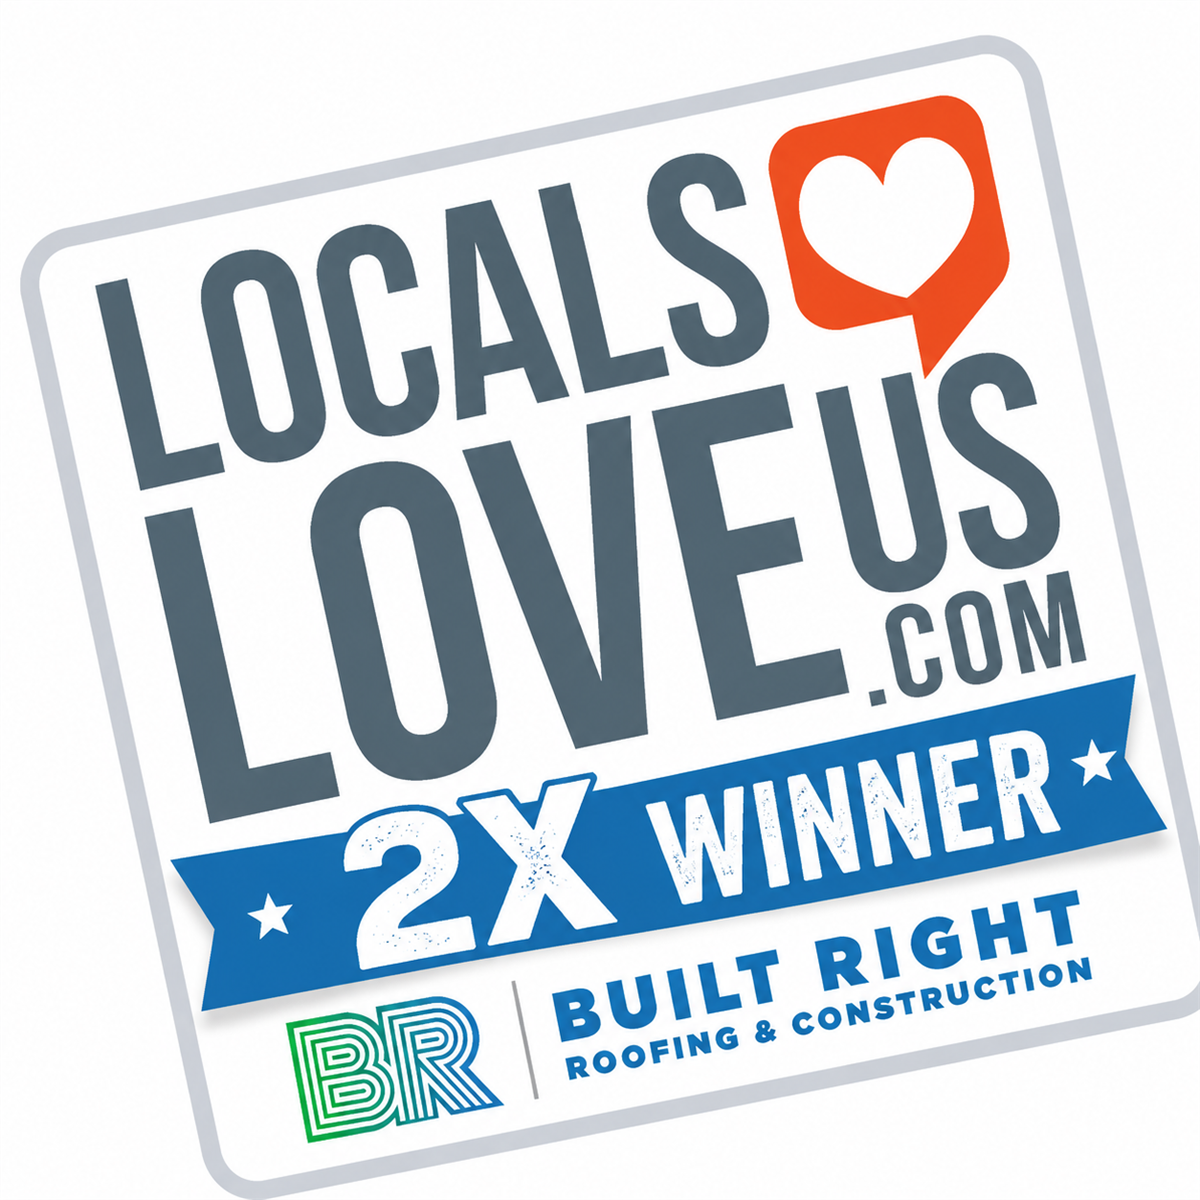
Built Right Roofing & Construction was voted the #1 roofing company in Rapid City and the Black Hills for the second year in a row. Learn why local homeowners continue to trust our team for roof replacement, roof repair, and exterior construction services.
Read More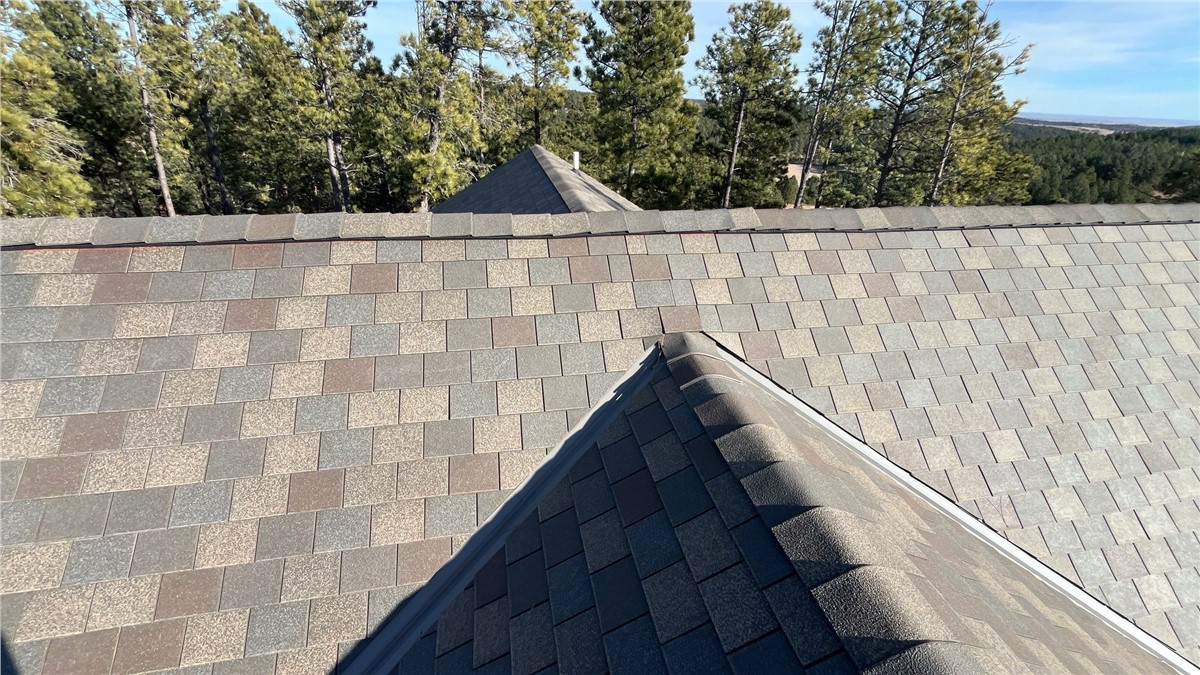
An Honest Look at Whether F-Wave Is the Right Call for Black Hills Homeowners Let's be honest.
Read More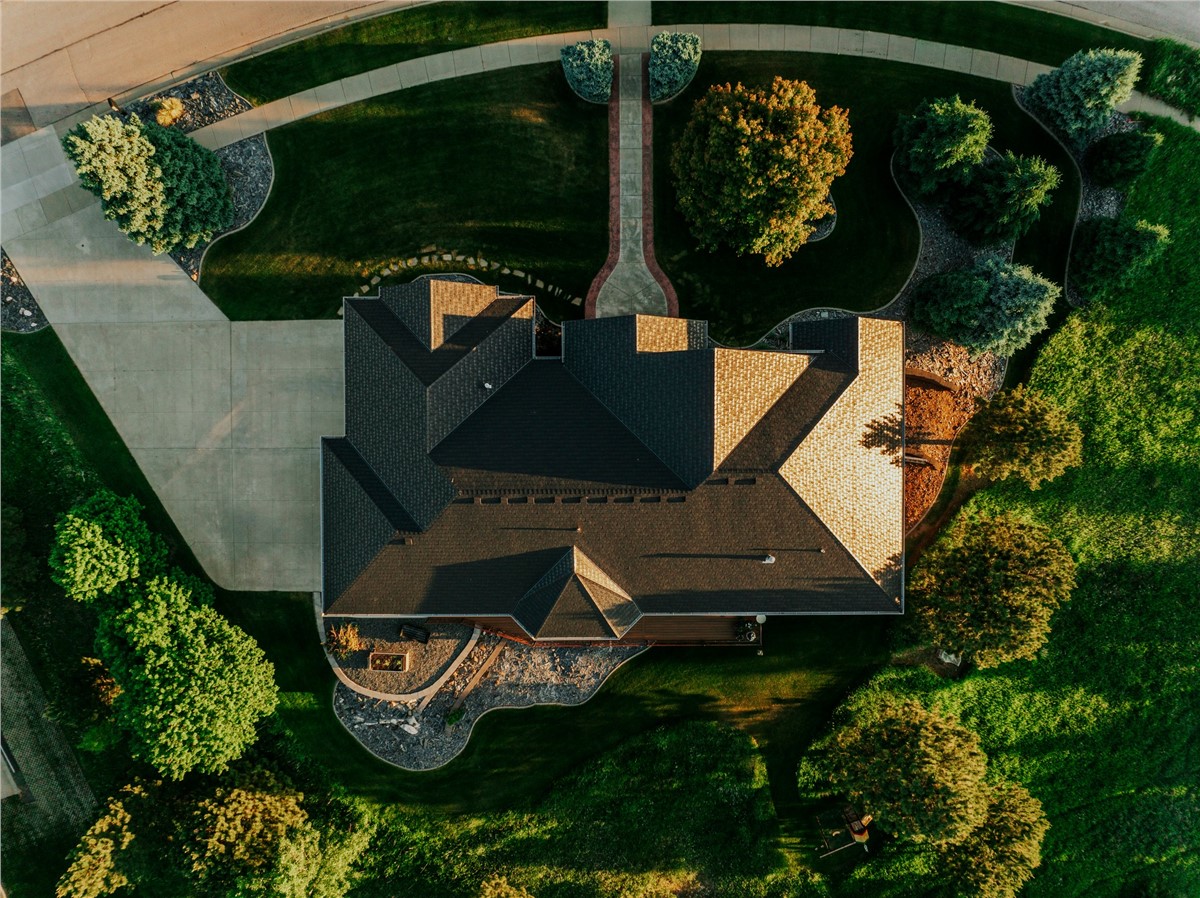
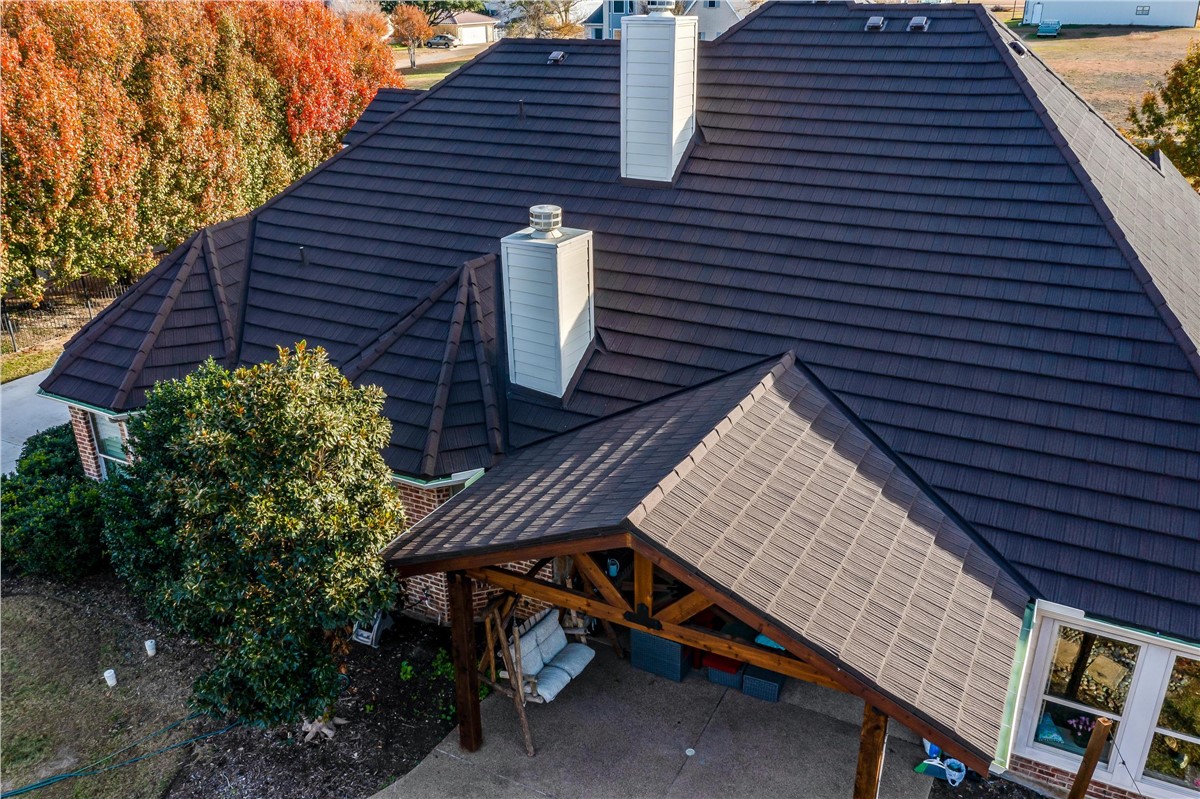
If you live in Rapid City or anywhere in the Black Hills, you know hail isn't a maybe, it's a matter of when. Storms roll through the region every spring and summer, and when they do, they leave behind dented gutters, cracked shingles, and insurance claims stacked a mile high.
Read More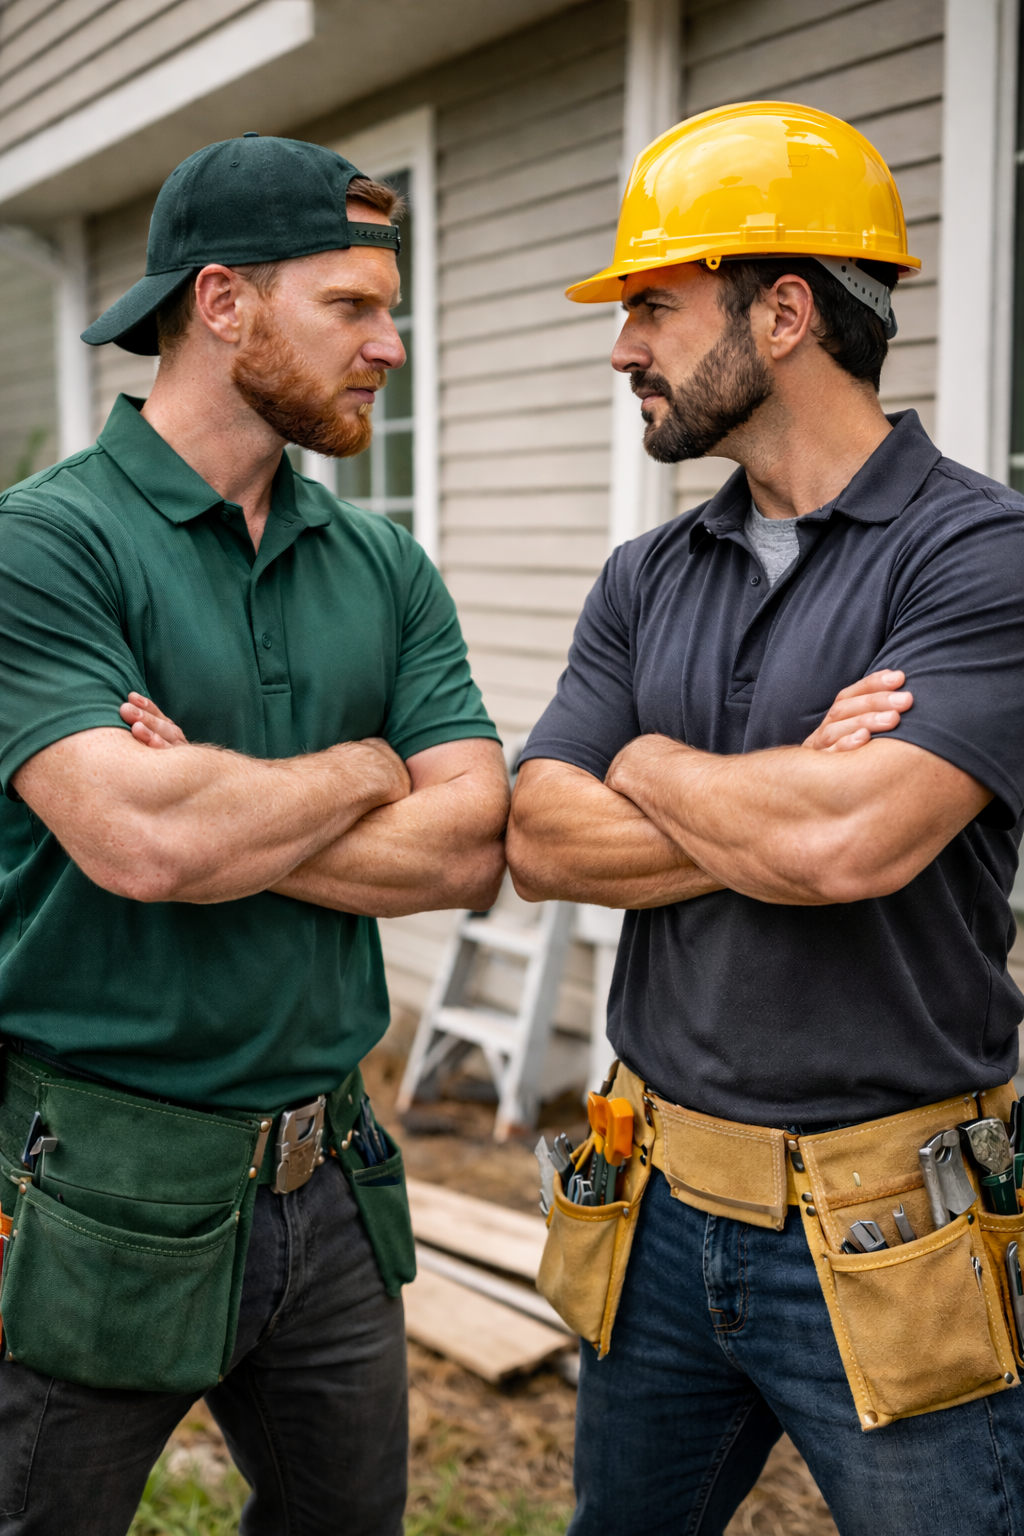
When homeowners in Rapid City start comparing premium siding options, two products come up consistently: James Hardie fiber cement and LP SmartSide with Diamond Kote® finish.
Read More
Windows are one of the most impactful upgrades a homeowner can make—affecting energy efficiency, curb appeal, noise reduction, security, and day-to-day comfort.
Read More
If you’ve lived in the Black Hills for any length of time, you already know what South Dakota hail can do to a roof.
Read MoreSubscribe to Built Right Roofing & Construction's Blog